To perform this Finance-related task, you must first Navigate to the FIN Self Service Homepages.
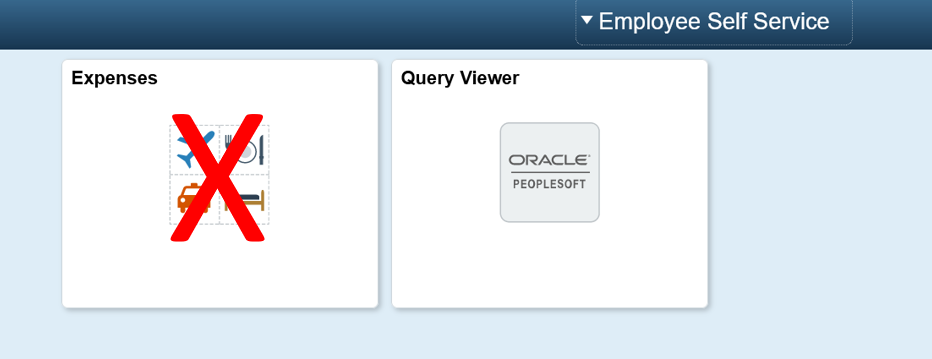
NOTE: Do not use the Expense Tile on the Self-Service Page. It is currently not operating properly. SBCTC is working to resolve the issue. When the issues are resolved, these instructions will be updated.
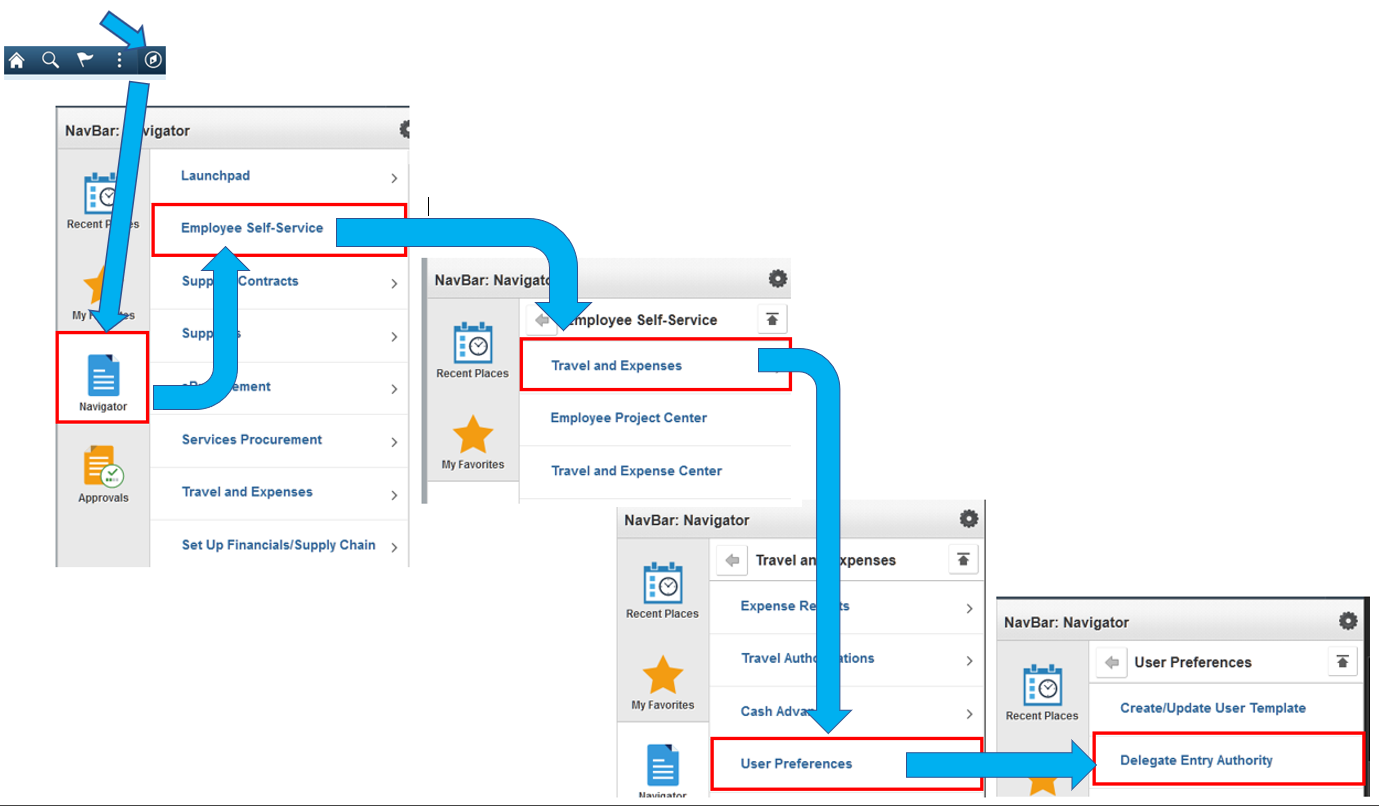
Navigate to the Authorized User Page from the FSCM Homepage:
Navigation: NavBar > Menu > Employee Self Service > Travel & Expenses > User Preferences > Delegate Entry Authority
Follow these steps to Delegate Authority to View, Enter & Submit, or Submit Travel & Expenses on your behalf:
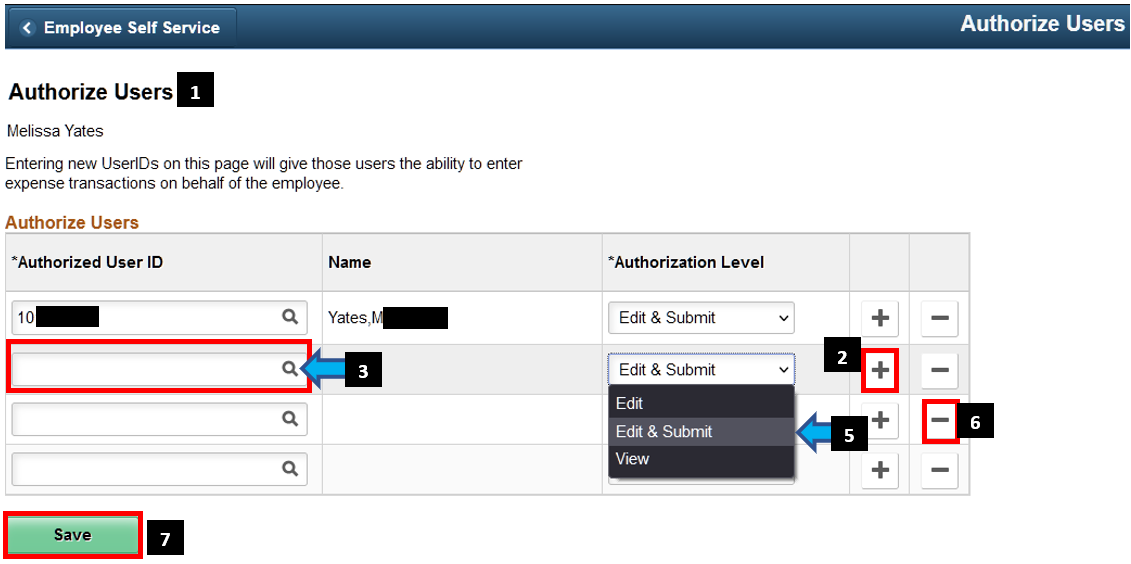
1. Review information on the Authorize Users page.
2. Select the plus sign [+] to add an authorized user.
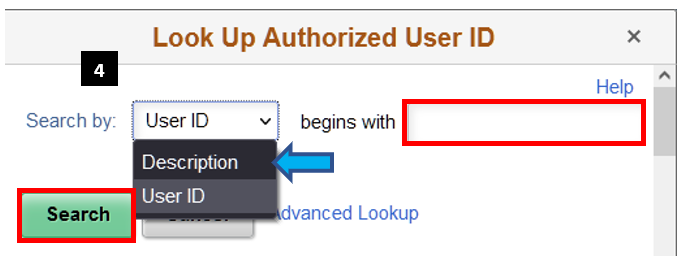
3. Enter the Authorized User ID (this user will be allowed to create documents). If you do not know what the users ctcLink ID (aka EMPLID, click on the looking glass icon and search by Description.
4. Select Description from the drop-down menu and begin typing the person's name. Click Search and select them from the list.When in doubt ask the user to confirm their ID more than one is listed with the same name.
5. On the Authorized User page, use the drop-down menu to select the appropriate authorization level:
- Edit: user can only create and edit documents, but can't submit.
- Edit & Submit: user has full functionality on behalf of employee.
- View: the authorized user can only view the document, not create, edit nor submit.
6. To remove an existing authorized user, select the minus sign [-] on the applicable row.
7. After completing all updates, select the Save button.The process to delegate entry authority from employee self-service is now complete.