To perform this HR-related task, you must first Navigate to the HCM Self Service Homepages.
Purpose: This process is only for entering time (not absences) for classified, overtime eligible staff who have a set number of scheduled hours per pay period--and do not need to enter lunches or breaks. This is called Enter Elapsed Time.
NOTE 1: Classified staff not eligible for overtime, exempt staff not eligible for overtime and faculty will not report time in ctcLink. They will only report absences (leave) in ctcLink. If someone needs to show absence (leave), this is done through the Absence Request process.
NOTE 2: The Enter Time Tile covered here is not assistive technology supported. If you need to use assistive technology, please use the Report Time Tile covered in a different page titled Enter Time Using the Accessible Report Time Tile.
NOTE 3: Entering time may be done for the whole pay period; it does not have to be entered on the actual day worked.
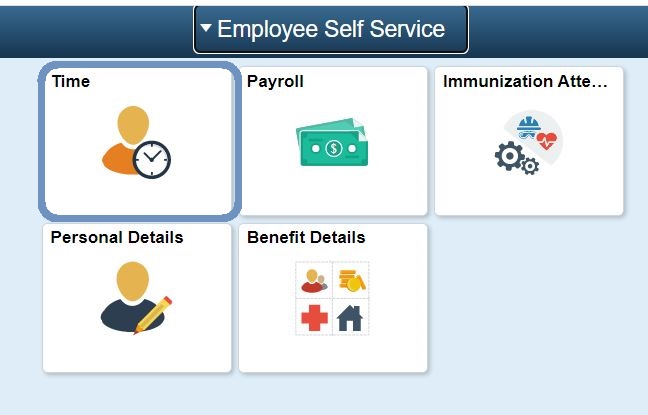
On your Employee Self Service homepage, select the Time tile.
To Enter Elapsed Time:
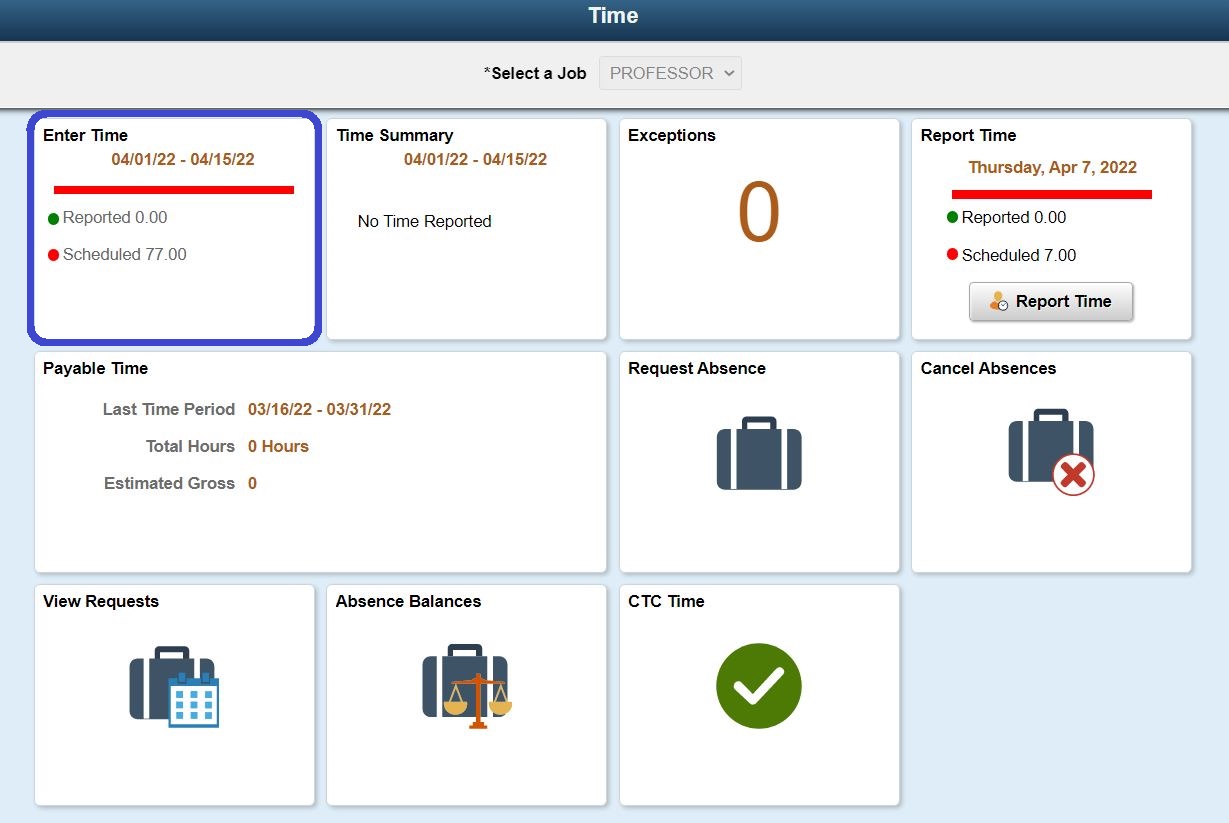
1. On the Time homepage, select the Enter Time Tile.
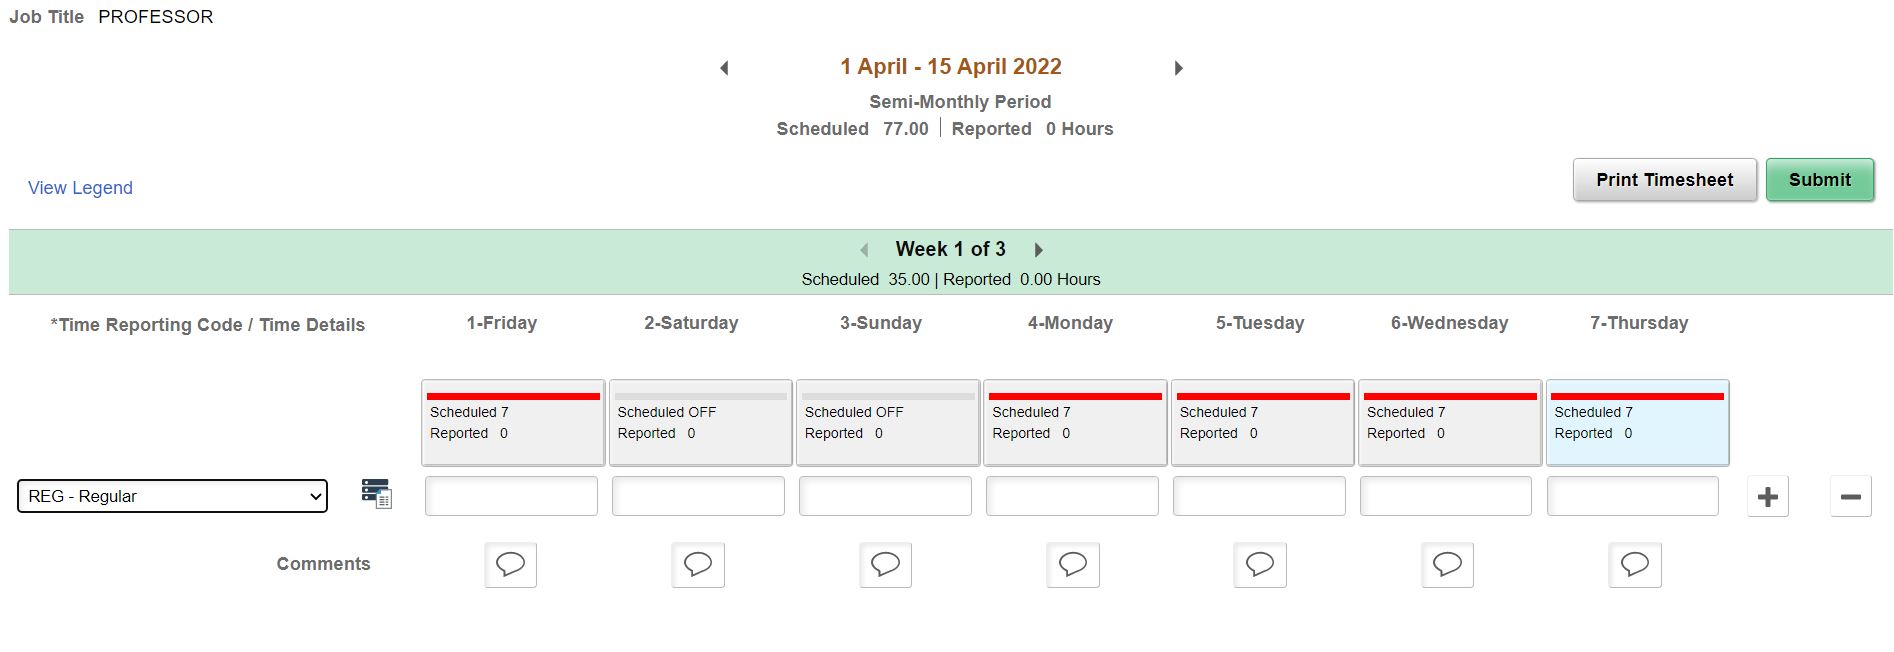
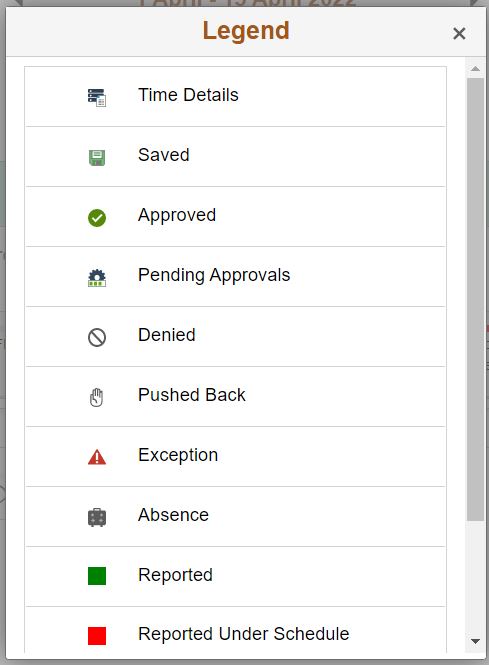
2. For information about the details on the Enter Time page, you can access the View Legend link found on the left side of the page.
View Legend Box:
3. To enter time, select a Time Reporting Code (TRC) from the drop-down on the left. Only time reporting codes applicable to your job will display for you.

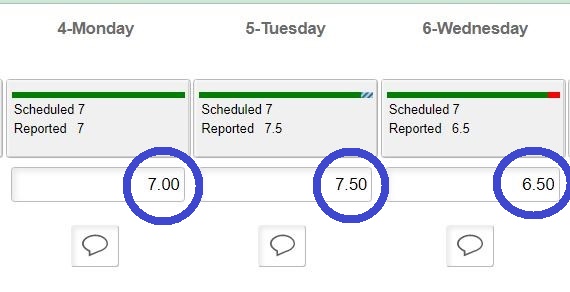
4. Enter the number of hours worked on the day selected. Partial hours must be represented by a decimal. Quarter hours are the lowest amount (.25, .50. .75). EXAMPLE: six and one-half hours would be 6.50.
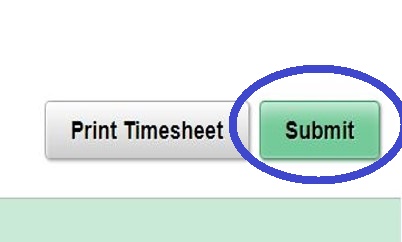
5. After entering your hours, click the Submit button.
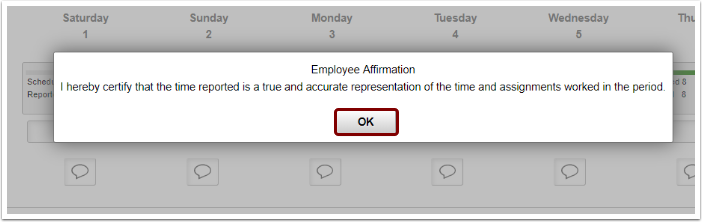
6. When the Employee Affirmation message pops up, select the OK button.
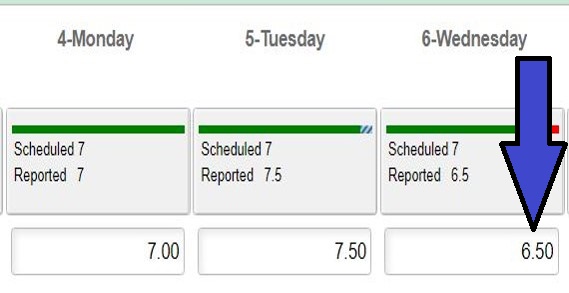
7. After affirming, the Enter Time page will display and the Basic Enter Time process is complete. Time will be processed overnight and sent to the employee’s manager for approval (if it is a TRC that needs approval).

More Options for Entering Elapsed Time:
A. If time needs to be changed, enter a new hour value under the relevant day and then select Submit and OK.
B. If an additional TRC was worked in the period:
1. Select the plus sign (+) on the right side of the screen to add a row.
2. Select the new TRC from the drop-down on the left.
3. Enter the number of hours worked on the new TRC.
4. Select Submit and OK.
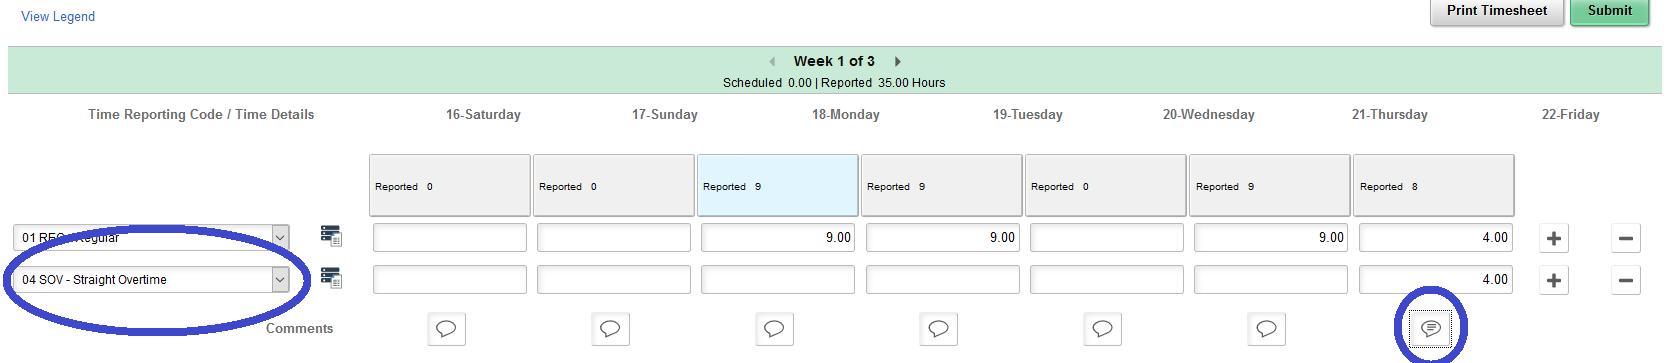
C. If Overtime was earned in the period:
1. Employee must be sure to enter their Regular time (REG) first.
2. Select the plus sign (+) on the right side of the screen to add a row.
3. Select the appropriate overtime TRC and enter the number of hours worked as overtime.
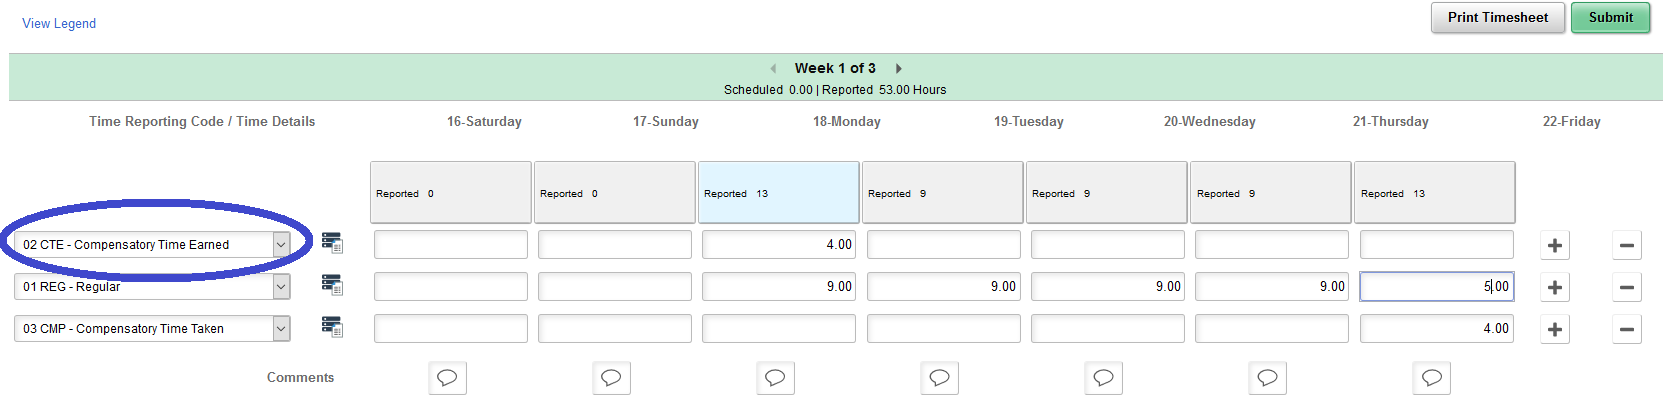
D. If Comp Time (CTE) was earned in the period:
1. Select the plus sign (+) on the right side of the screen to add a row.
2. Select CTE from the TRC drop-down on the left.
3. Enter the number of hours to accrue under CTE.
4. Select Submit and OK.
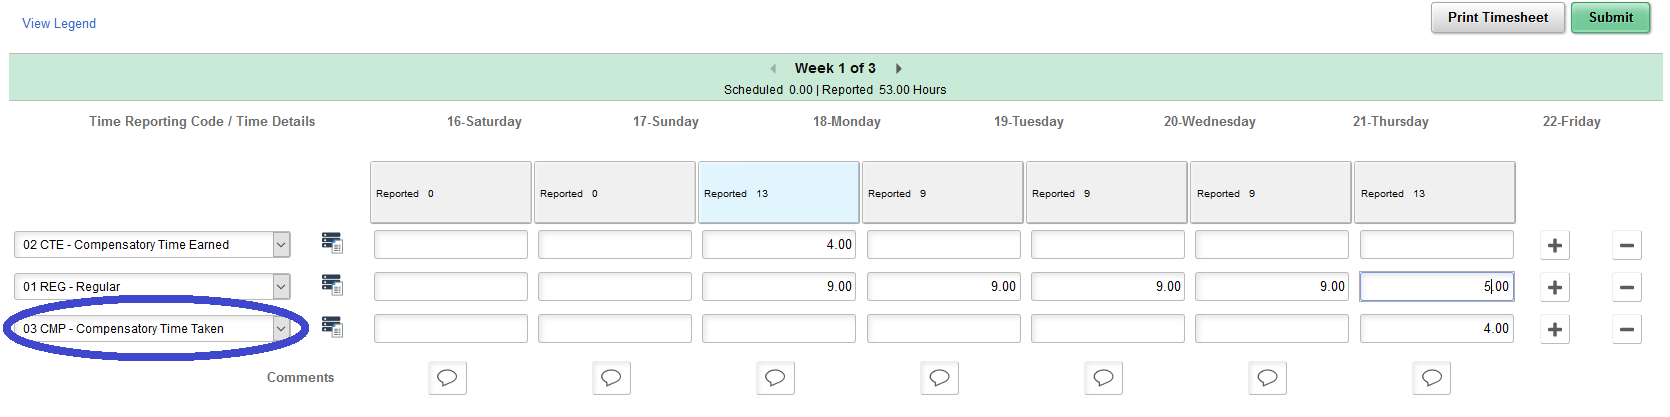
E. If Comp Time (CMP)was taken in the period:
1. Select the plus sign (+) on the right side of the screen to add a row.
2. Select CMP from the TRC drop-down on the left.
3. Enter the number of hours used under CMP.
4. Select Submit and OK.
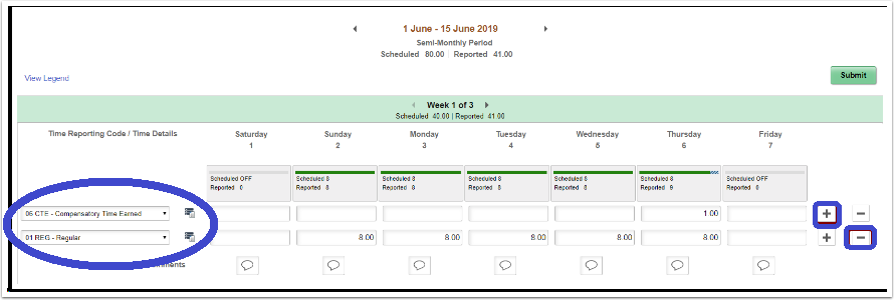
F. If a TRC needs to be removed from the timesheet:
1. Select the minus sign (-) on the right side of the screen to remove a row.
2. The system will prompt a question, select either Yes Delete or No Do Not Delete.
3. If Yes Delete was chosen, and the employee wishes to finalize their choice, select Submit and OK.

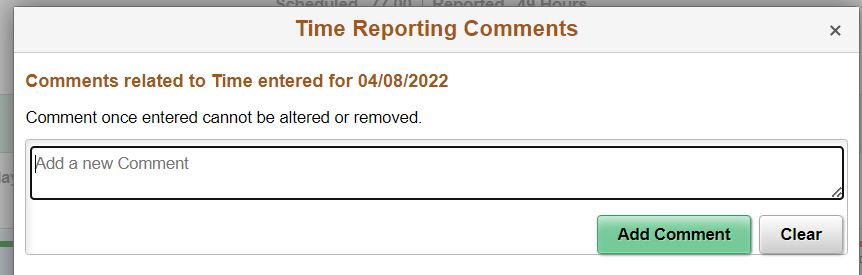
G. If a Comment is needed, select the comment box below the day in which a comment is needed. Type in text. Click on Add Comment. Comments, once entered, cannot be altered or removed. Additionally, all comments recorded by employees are considered discoverable.

NOTE: The minimum processing time is overnight. Therefore, time entered may not be visible to the employee or manager in other screens until the overnight processing has occurred.
Human Resources Office
If you run into any issues following this guide, please contact the Human Resources Office to resolve them. We're open from 8 am to 5 pm weekdays:
- Call us at (360) 596-5500
- Email us at HumanResourcesStaff@spscc.edu
- Visit us in person in Building 25 Room 220